Business Documents is a standard tool in Microsoft Dynamics 365 Finance & Operations (D365FO) that enables the visualization of documents and reports, using Electronic Reporting as the primary engine for data extraction. In Part 4, I demonstrated how to customize a business document using a Word template.
In this post, I’ll guide you through the process of customizing a standard business document in Word format. This includes adding new fields, mapping them in Electronic Reporting, and embedding fonts in the template. This tutorial builds on Part 4 to give you deeper insights into updating a standard Word template with the necessary layout, fields (such as labels and values), and fonts.
Getting Started: Activating the Developer Tab
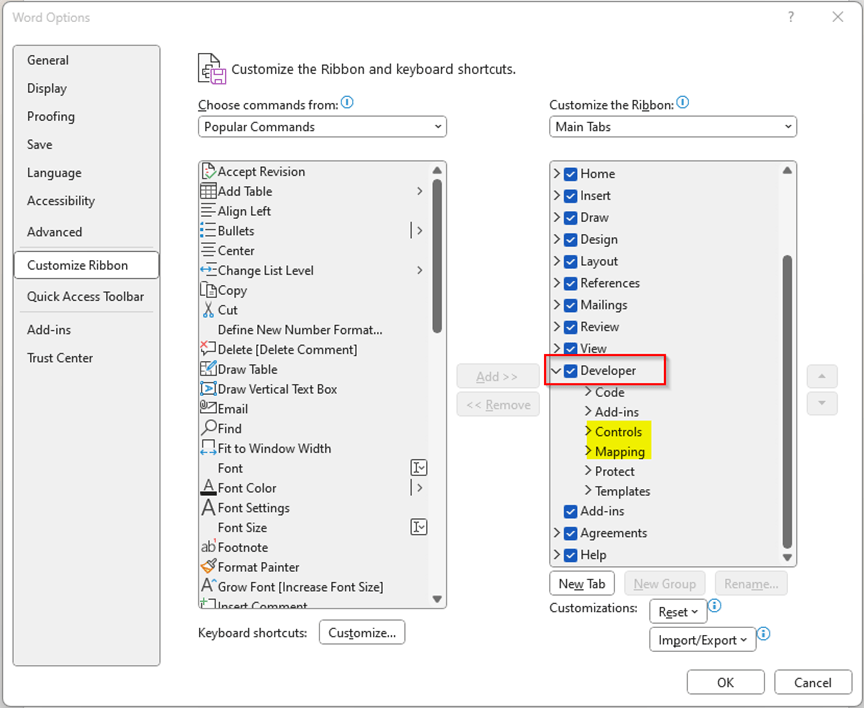
To edit or customize Word templates, you’ll need to activate the “Developer” tab. You can do this by navigating to File > Options > Customize Ribbon.
Making Changes in the Word Template
Once the Developer tab is activated, you’ll have access to the Controls group and the mapping options needed to make changes in the Word template. After making modifications in the format designer, remember to save the model so the changes are reflected in the Word file’s report mapping.
Example: Adding a PaymentId Field
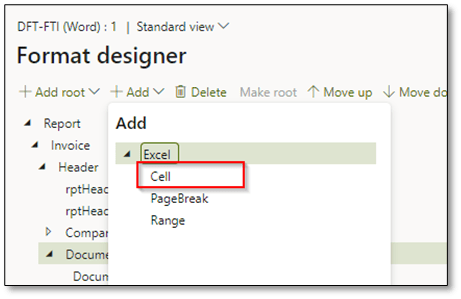
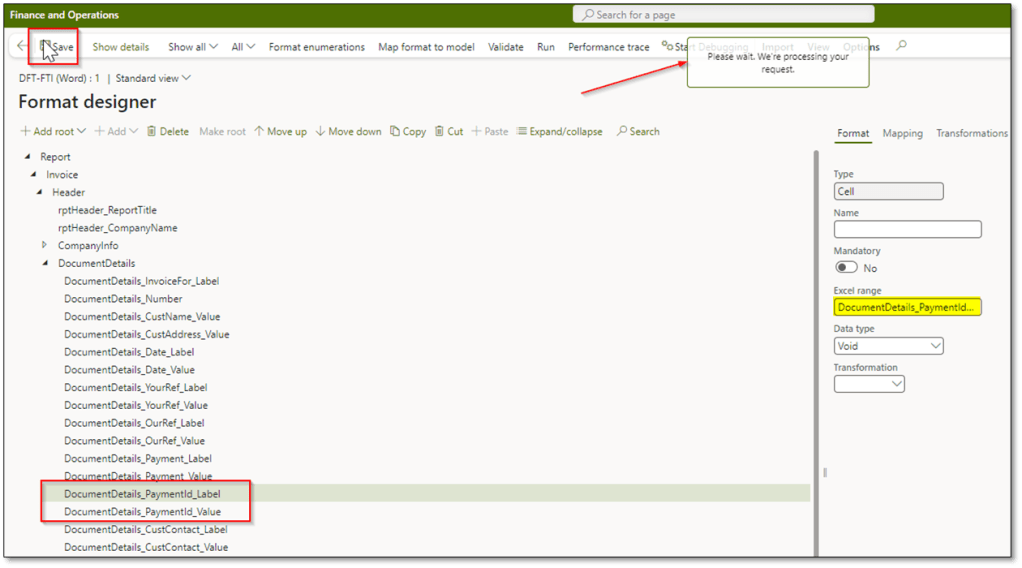
In the following example, I’ve added the PaymentId as a label and value to the format designer by creating a new cell.

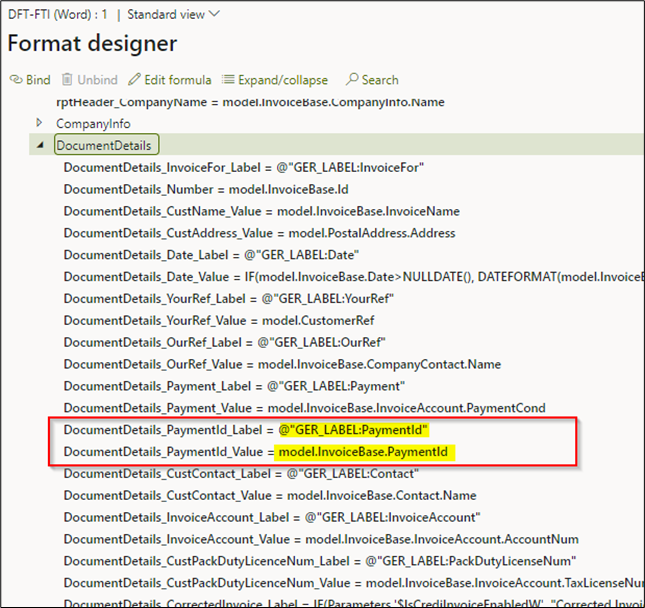
After saving the changes, the new fields are populated in the report model within the Word file. Before opening the Word file, ensure that you’ve added the necessary mapping for the new fields.
Customizing the Word Template
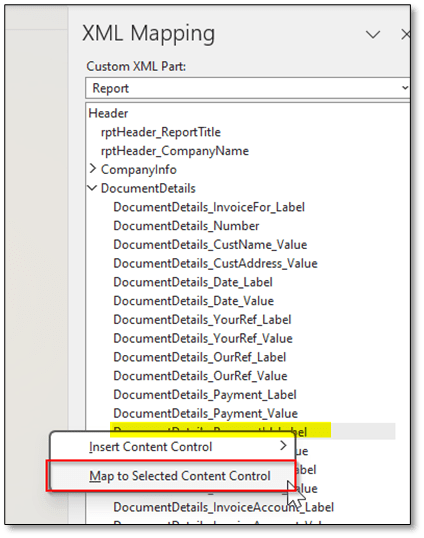
Next, download the Word template and add new cells for the additional fields. To facilitate adding new cells, you can activate borders in the Word file. Use the XML Mapping tool under Reports to insert the actual fields in the correct format.

Adding Mapping and tag to Content Controls
To add mapping to the selected content control, click on “Map to selected Content Control”.
In order to add tag to the provided cell you can choose the cell/mapping and click on “Properties” and enter the value you defined in the format designer as the Excel range. You can also add the desired text for the tag value.

Embedding Fonts in the Word Template
If you want to change the font, modify the fields to your preferred font and size. Then, go to File > Options > Save > Preserve fidelity when sharing this document and activate “Embed fonts in the file.”

Final Steps: Replacing and Activating the Document
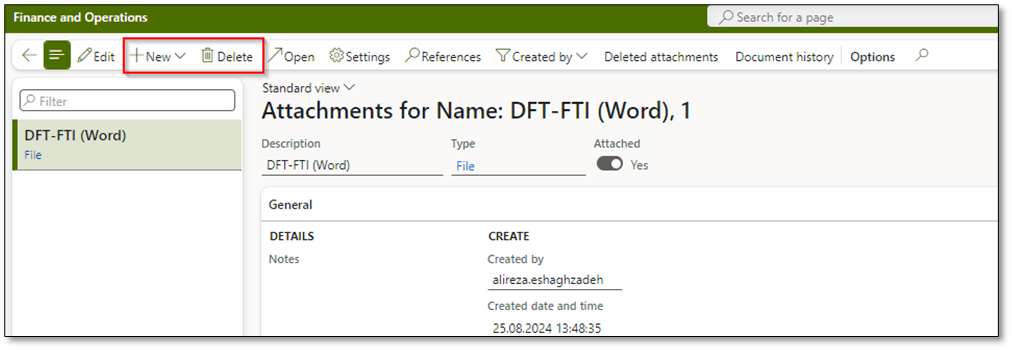
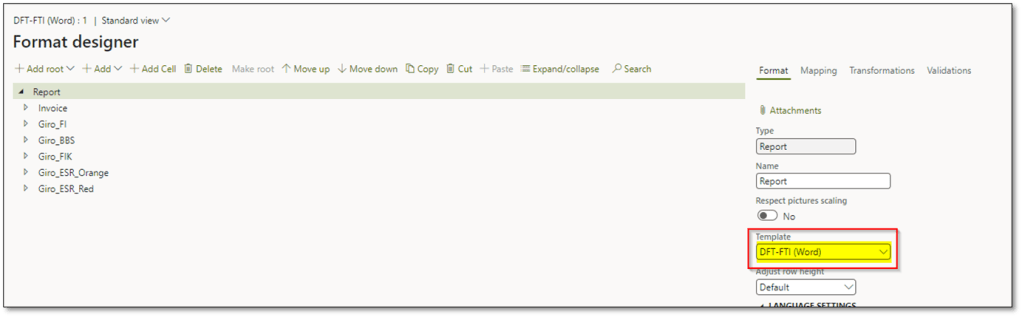
Once you’ve added the mapping, save the document and replace the previous version in the business document as the main attachment. Delete the old document, upload the newly modified one, and associate it with the template in the format designer.
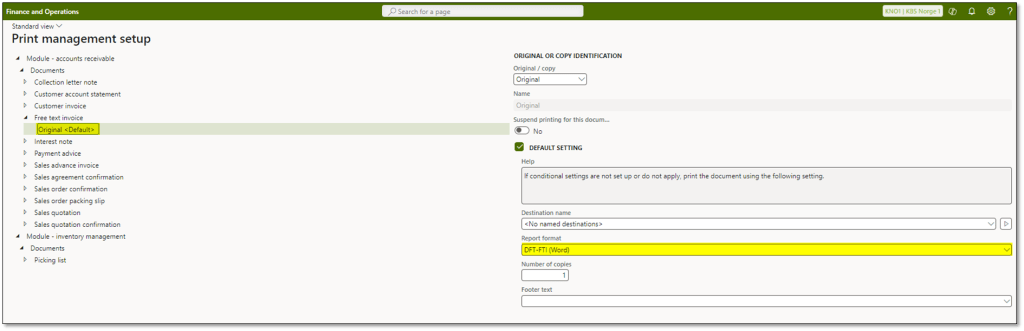
You can now activate this document in the Form setup for print management and start testing the document print function.
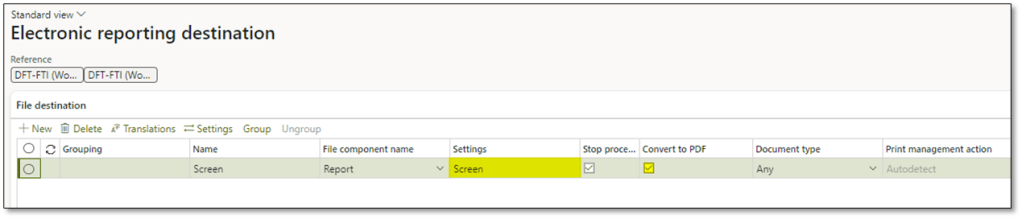
To view the document as a PDF on screen, add the document to the appropriate setup, then test the viewing of the invoice using the business document to generate a PDF file in the browser.

I hope this post provides valuable insights to better understand CBD. If you have any questions or feedback, please leave a comment below. Your input is highly appreciated!
